



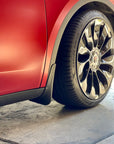
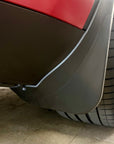
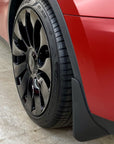
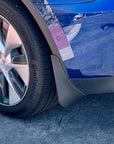
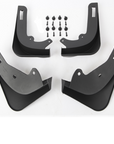
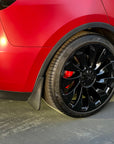
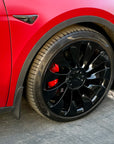
Model Y Mud Flaps Screwless (Set of 4)

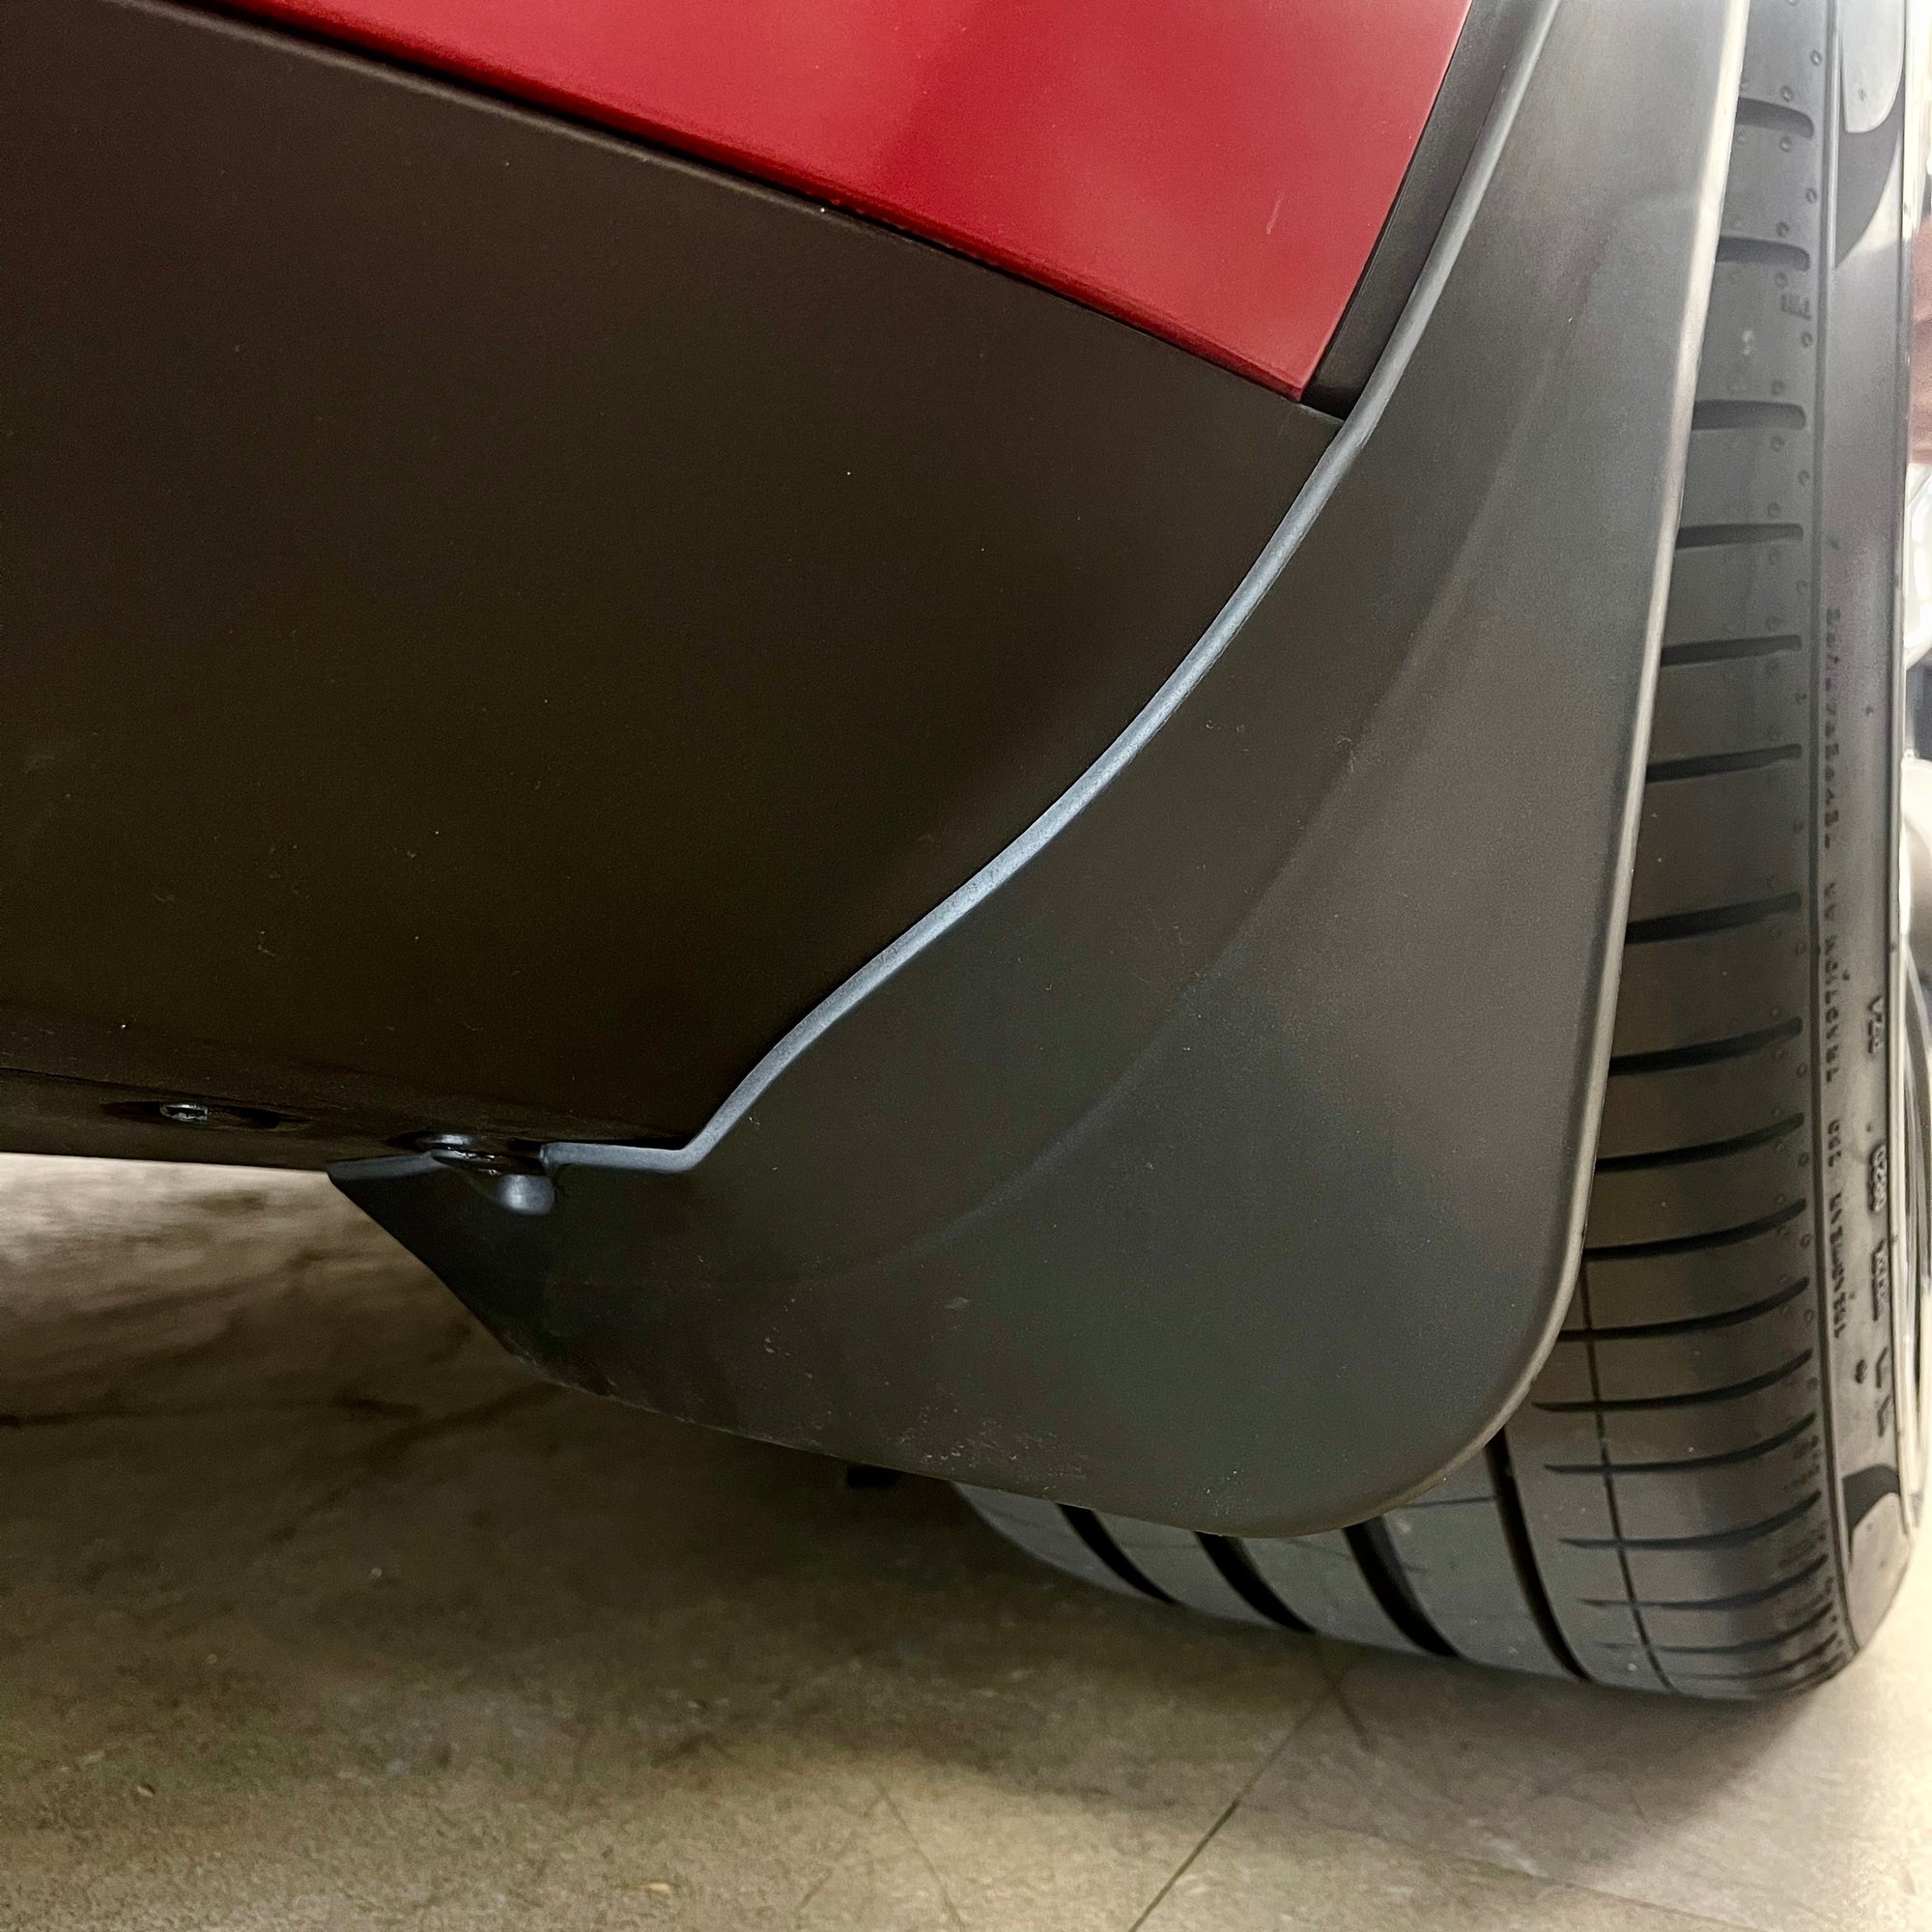
COMPATIBILITY: Newer Model Y owners may have a grommet replaced with a bolt behind the rear wheel. On the rear mud flaps there is one bolt you may have to unscrew and then screw back in.
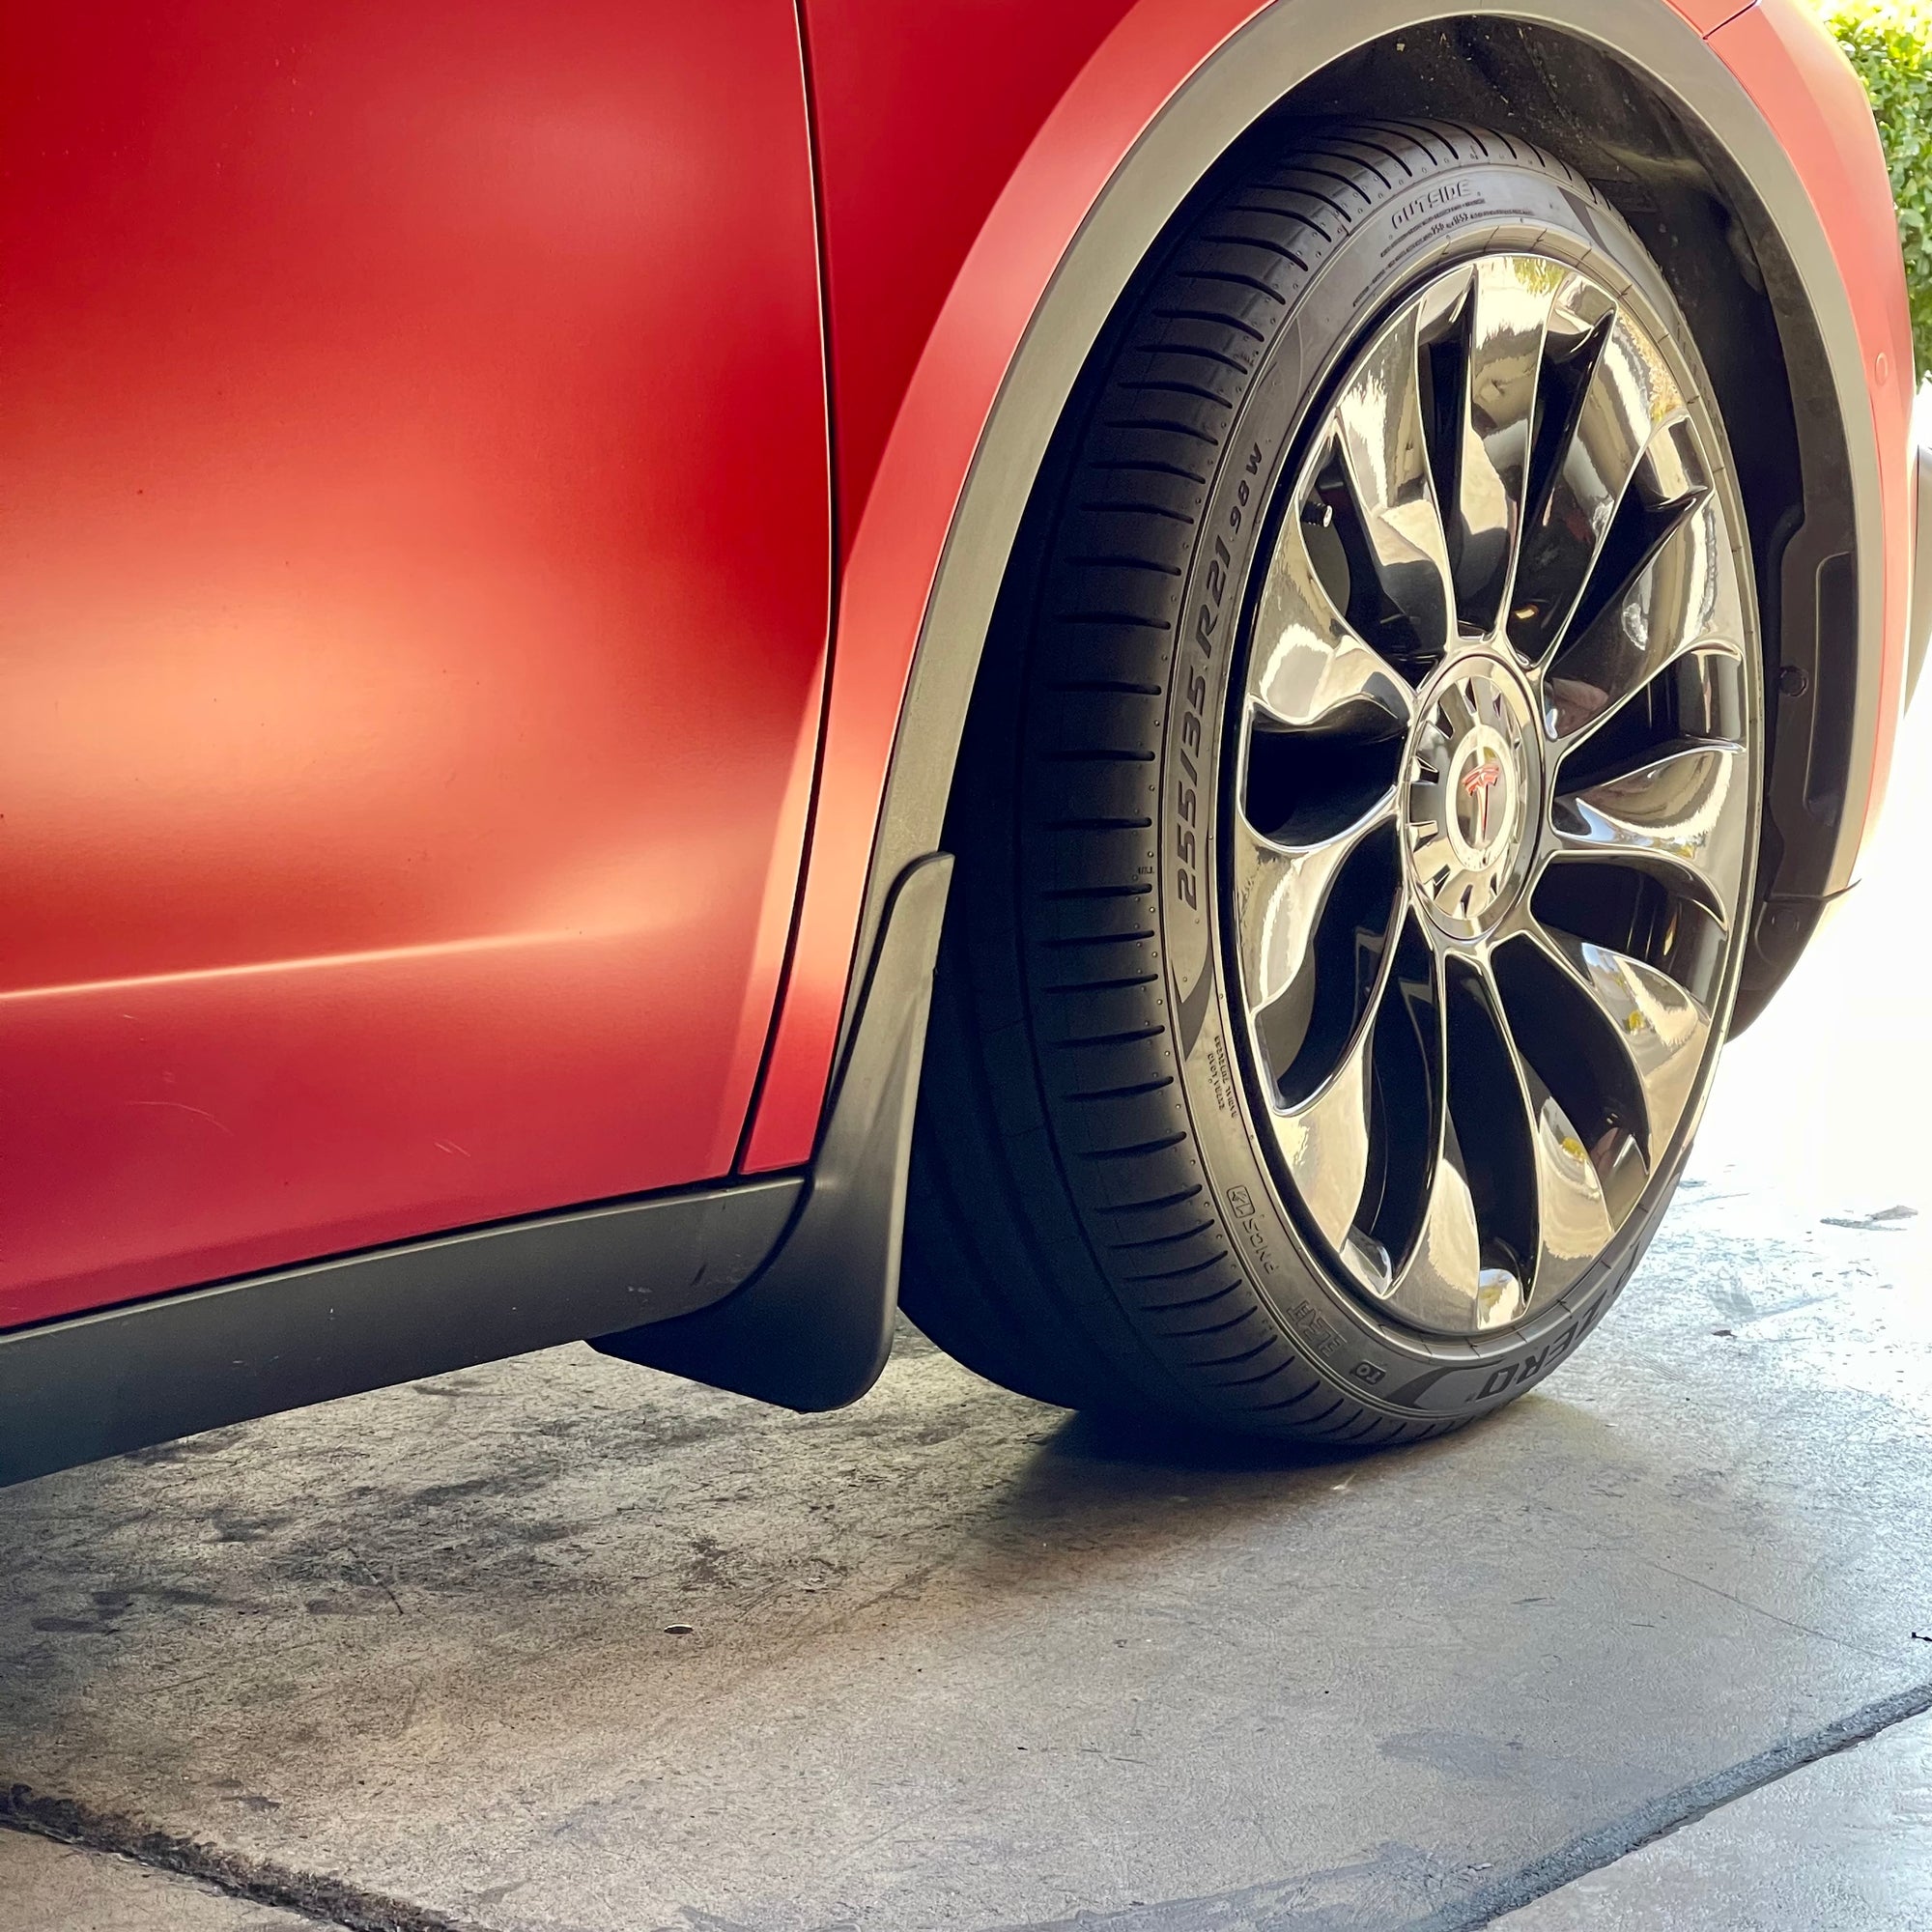
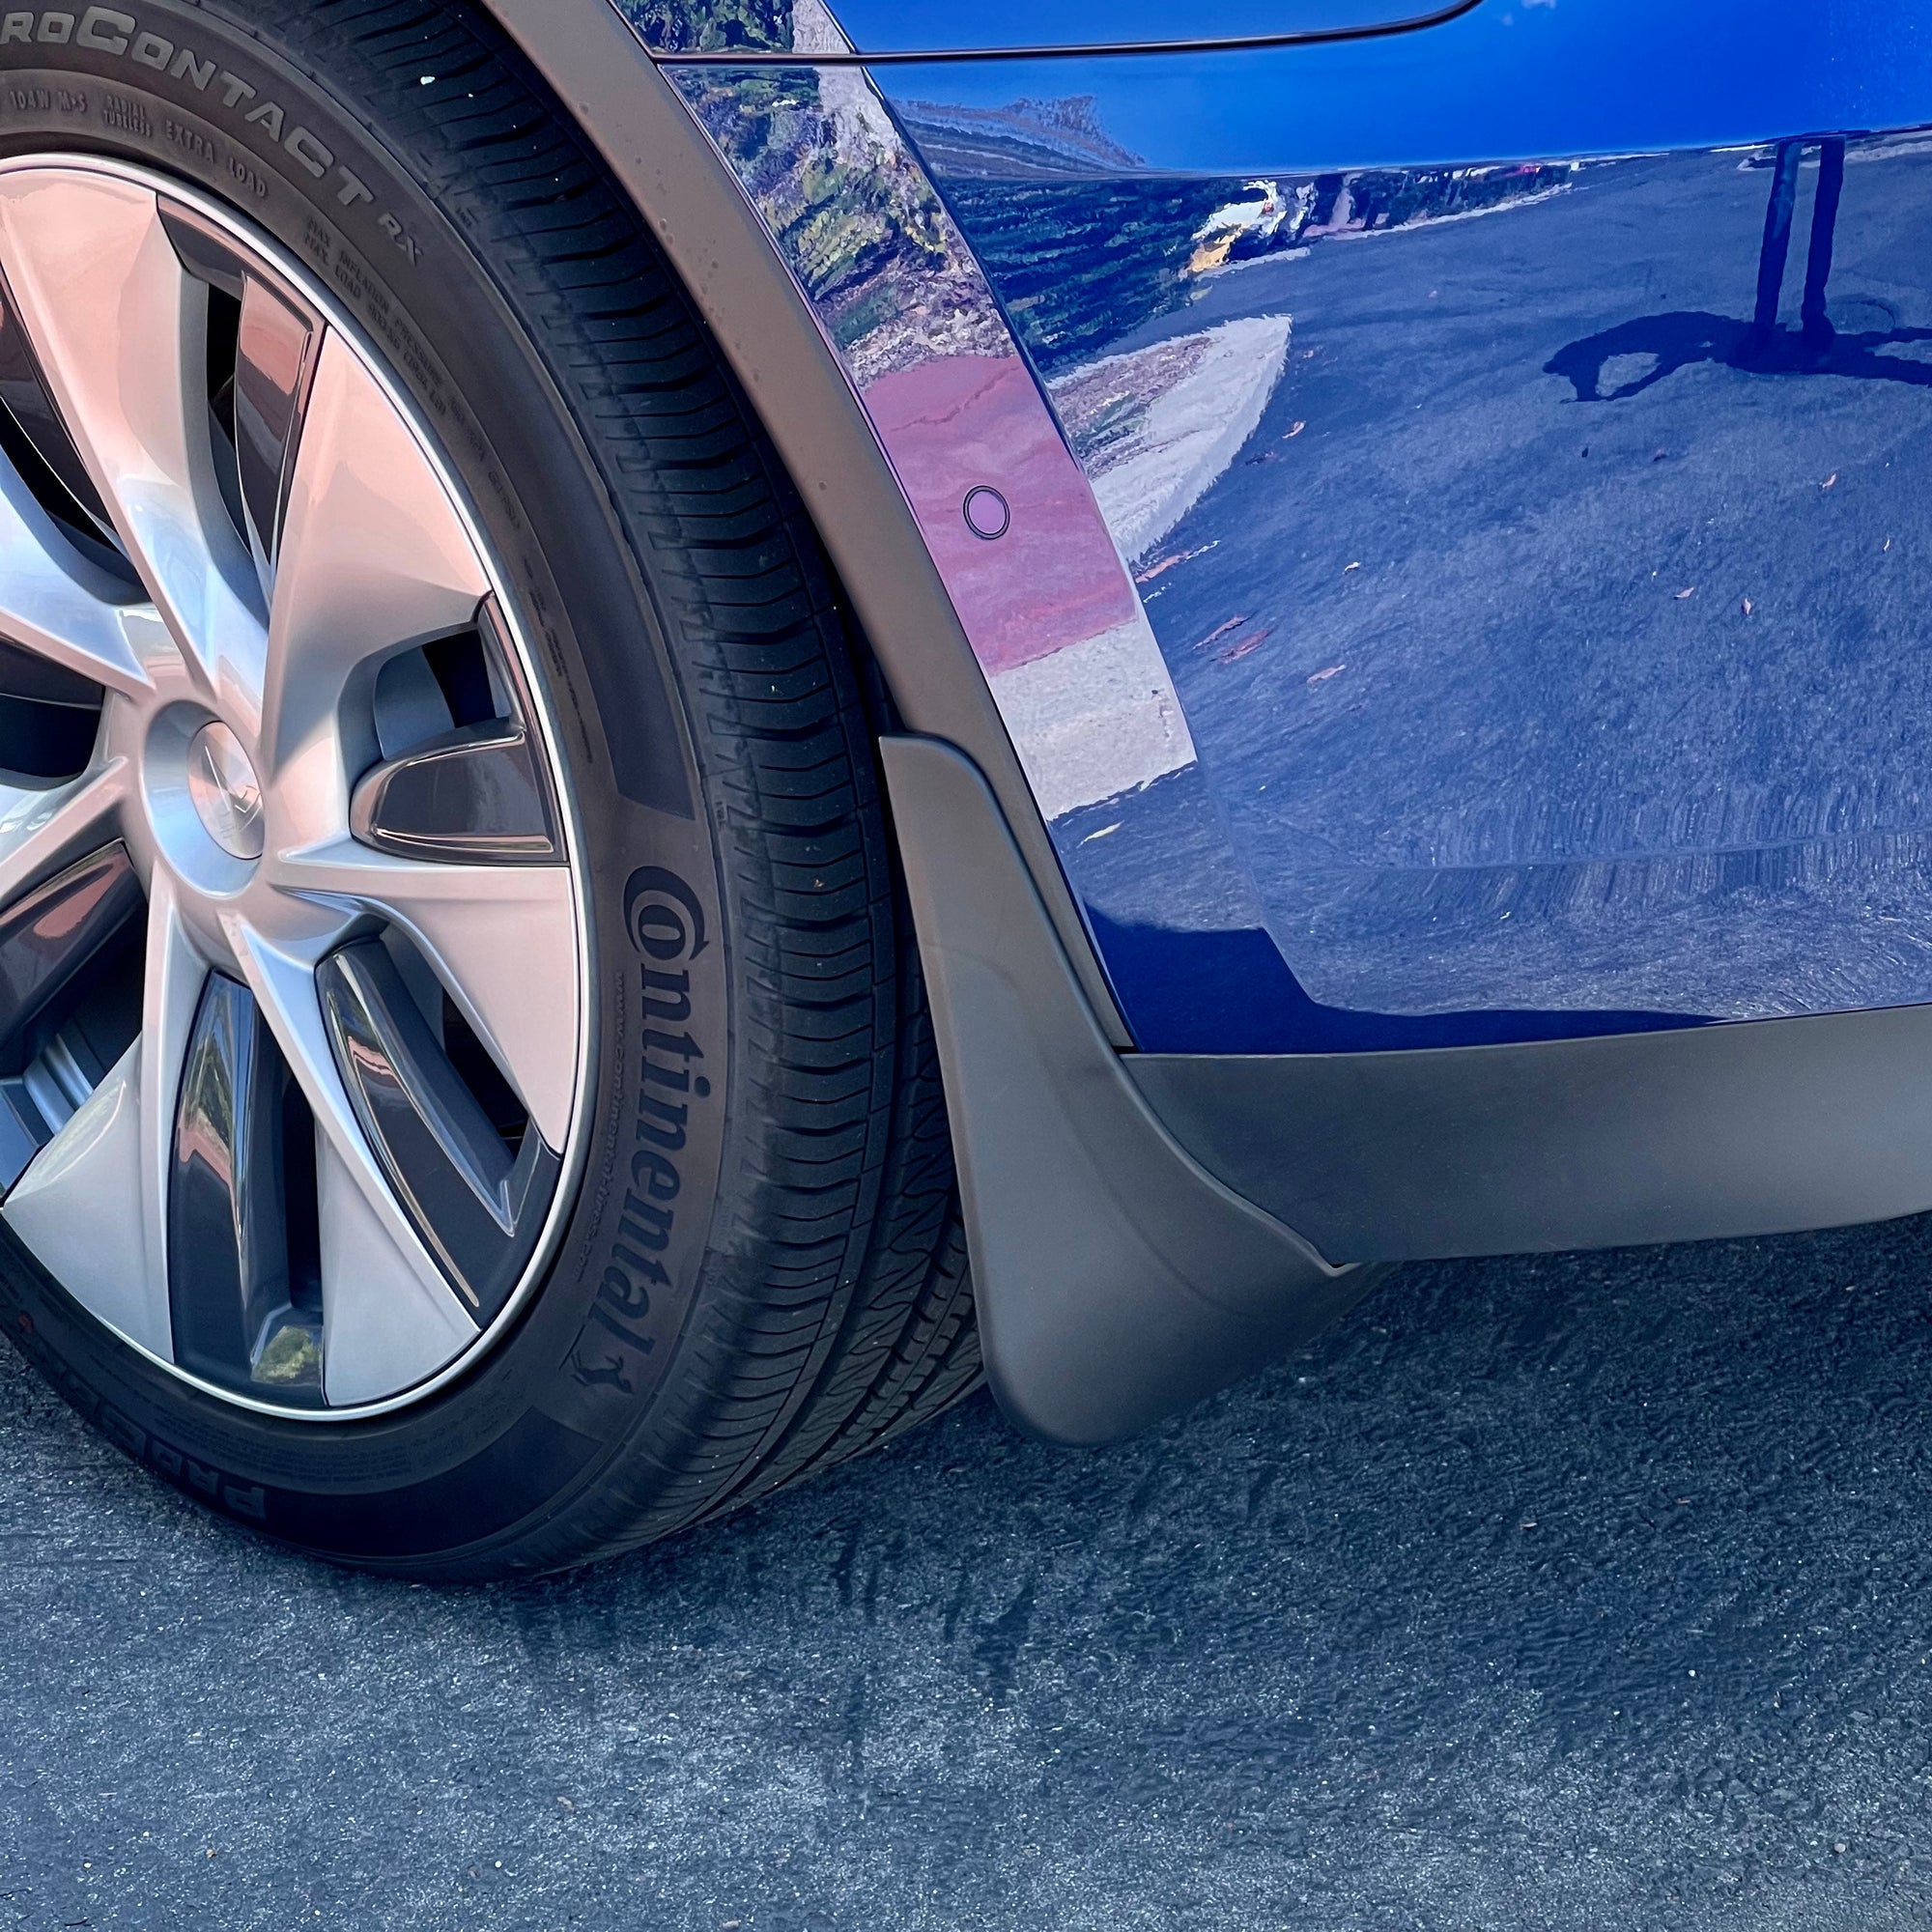
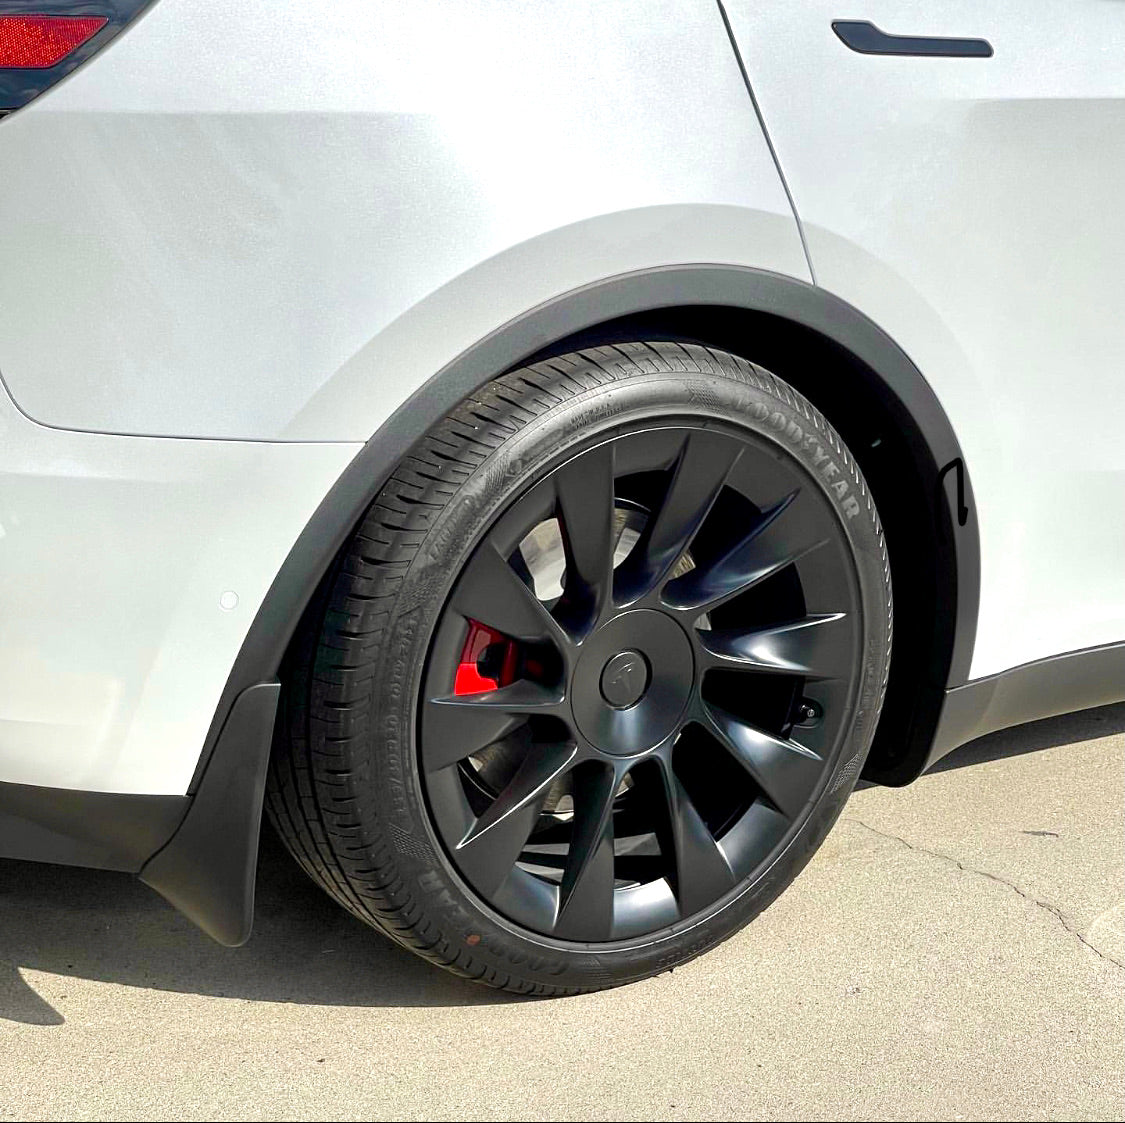
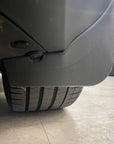
The Model Y mud flaps are made from strong solid ABS rigid plastic. These are almost 3/4" shorter than TESLA's OEM version making them speed bump proof. They fit directly behind your wheel well in the draft of the wheel, creating no increased drag or reduced range.
Tesla customers complain how TESLA's OEM thin mud flaps cost $40, they bend in the wind and they only include 2 for the front wheels.
Our 4 piece kit includes 1 mud flap for each wheel which can be installed by pressing in plastic grommets. There are no screwing or tapping into your car rocker panels or fenders. These hold in place with only the grommets, removing the bolt from behind the rear wheels, and then screwing it back in.
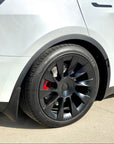
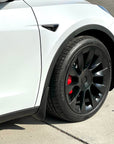
Protect your Model Y 's doors and rear quarter panels from rock chips and other road debris that is thrown up from your tires. Our mud flaps are sleek and low profile with a very OEM look. They are made from rigid impact-resistant ABS plastic.
INSTALLATION: To install the mud flaps, you simply remove the stock plastic grommets that hold the fender wheel liner in place, position the mud flap and press-in our longer plastic grommets into the existing holes. On the rear there is one bolt to remove the mud flaps from under the car on newer Model Y's, but you place the same OEM bolt back in to secure the mud flaps. Super easy!
Front Mud Flap Adjustment: Some front fender liners are not assembled the same way as others. If you have a gap between the front mud flap and the fender liner, please check the Front Mud Flap Adjustment videos on how to remove them.
Just place the rear mud flap in place and locate the downward facing bolt just under the back fender liner. The bolt will be covered by the mud flap's plastic tab so you can identify it.
Then just unscrew the bolt, but as you unscrew the bolt, If you feel the tension increasing we suggest you use lubricating oil on the threads to insure you do not break the nut from the welded location on the metal frame. There is a new video on the above tab labeled HELP and here is a LINK.
Once you have the bolt screwed back in and you have placed the mud flap, do not over tighten the bolt or you can crack the plastic tab. This will hold the mud flap in place better than the plastic grommet.
IF EITHER OF YOUR REAR MUD FLAP BOLTS RESIST UNSCREWING EASILY, PLEASE WATCH THIS VIDEO. DO NOT FORCE THE BOLT OR THE WELD ON THE SCREW INSIDE YOUR FENDER WILL BREAK OFF AND YOU WILL NEED TO WATCH OUR BOLT REMOVAL HELP VIDEO.
DEMO & INSTALLATION:
GROMMET/NUT ISSUE:
BOLT REMOVAL HELP:
FRONT MUD FLAP ADJUSTING:
Our installation videos provide the necessary information to correctly install our products. Therefore, we strongly recommend that you watch the installation video/s both before ordering and before installing our products.
